
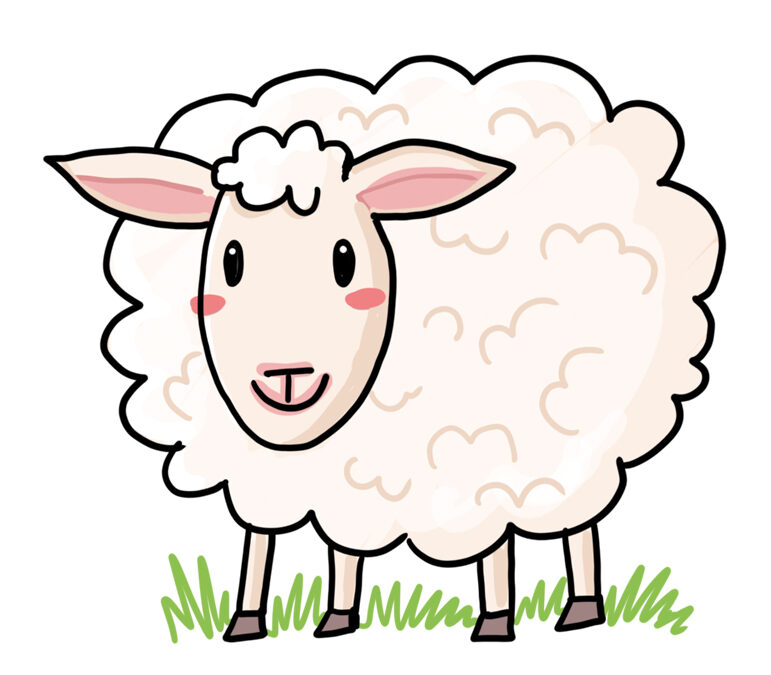
Learn how to Draw a Sheep: Easy Step-by-Step Tutorial for Kids

Learn how to Draw a Sheep: Easy Step-by-Step Tutorial for Kids

Learn to Draw a Sheep: A Fun and Easy Guide for Kids!

Drawing animals can be so much fun, especially when they’re as fluffy and friendly as a sheep! Whether you’re a beginner or just looking for a relaxing activity, this step-by-step tutorial will help you create your very own sheep in no time. Grab your pencil and paper, and let’s get started!

    Step-by-Step: Learn to Draw a Cute and Easy Sheep

    🐑Step 1: Draw the Sheep’s Head

    Start by drawing a large, round shape for the sheep’s head. Keep it simple—it doesn’t have to be perfect! This will be the base of your drawing.


    🐑 Step 2: Add the Fur

    Next, draw a curvy shapes around the head. Sheep ears are usually floppy and rounded, so make it look soft and cozy!


    🐑 Step 3: Create the Face

    Now, add two small circles for the eyes and a tiny t-shape for the nose. Also add some ears and blocks for the feet.


    🐑 Step 4: Add the Legs

    Draw short, straight lines under the sheep’s head to make its legs. Sheep have sturdy legs, so keep them simple and even. Don’t forget to draw a sweet smile below the nose to give your sheep a happy expression and give it a nice fluffy haircut!


    🐑 Step 5: Finish the Drawing

    Trace your drawing with a black fineliner and erase the pencil lines. Your sheep is now ready to join the flock!
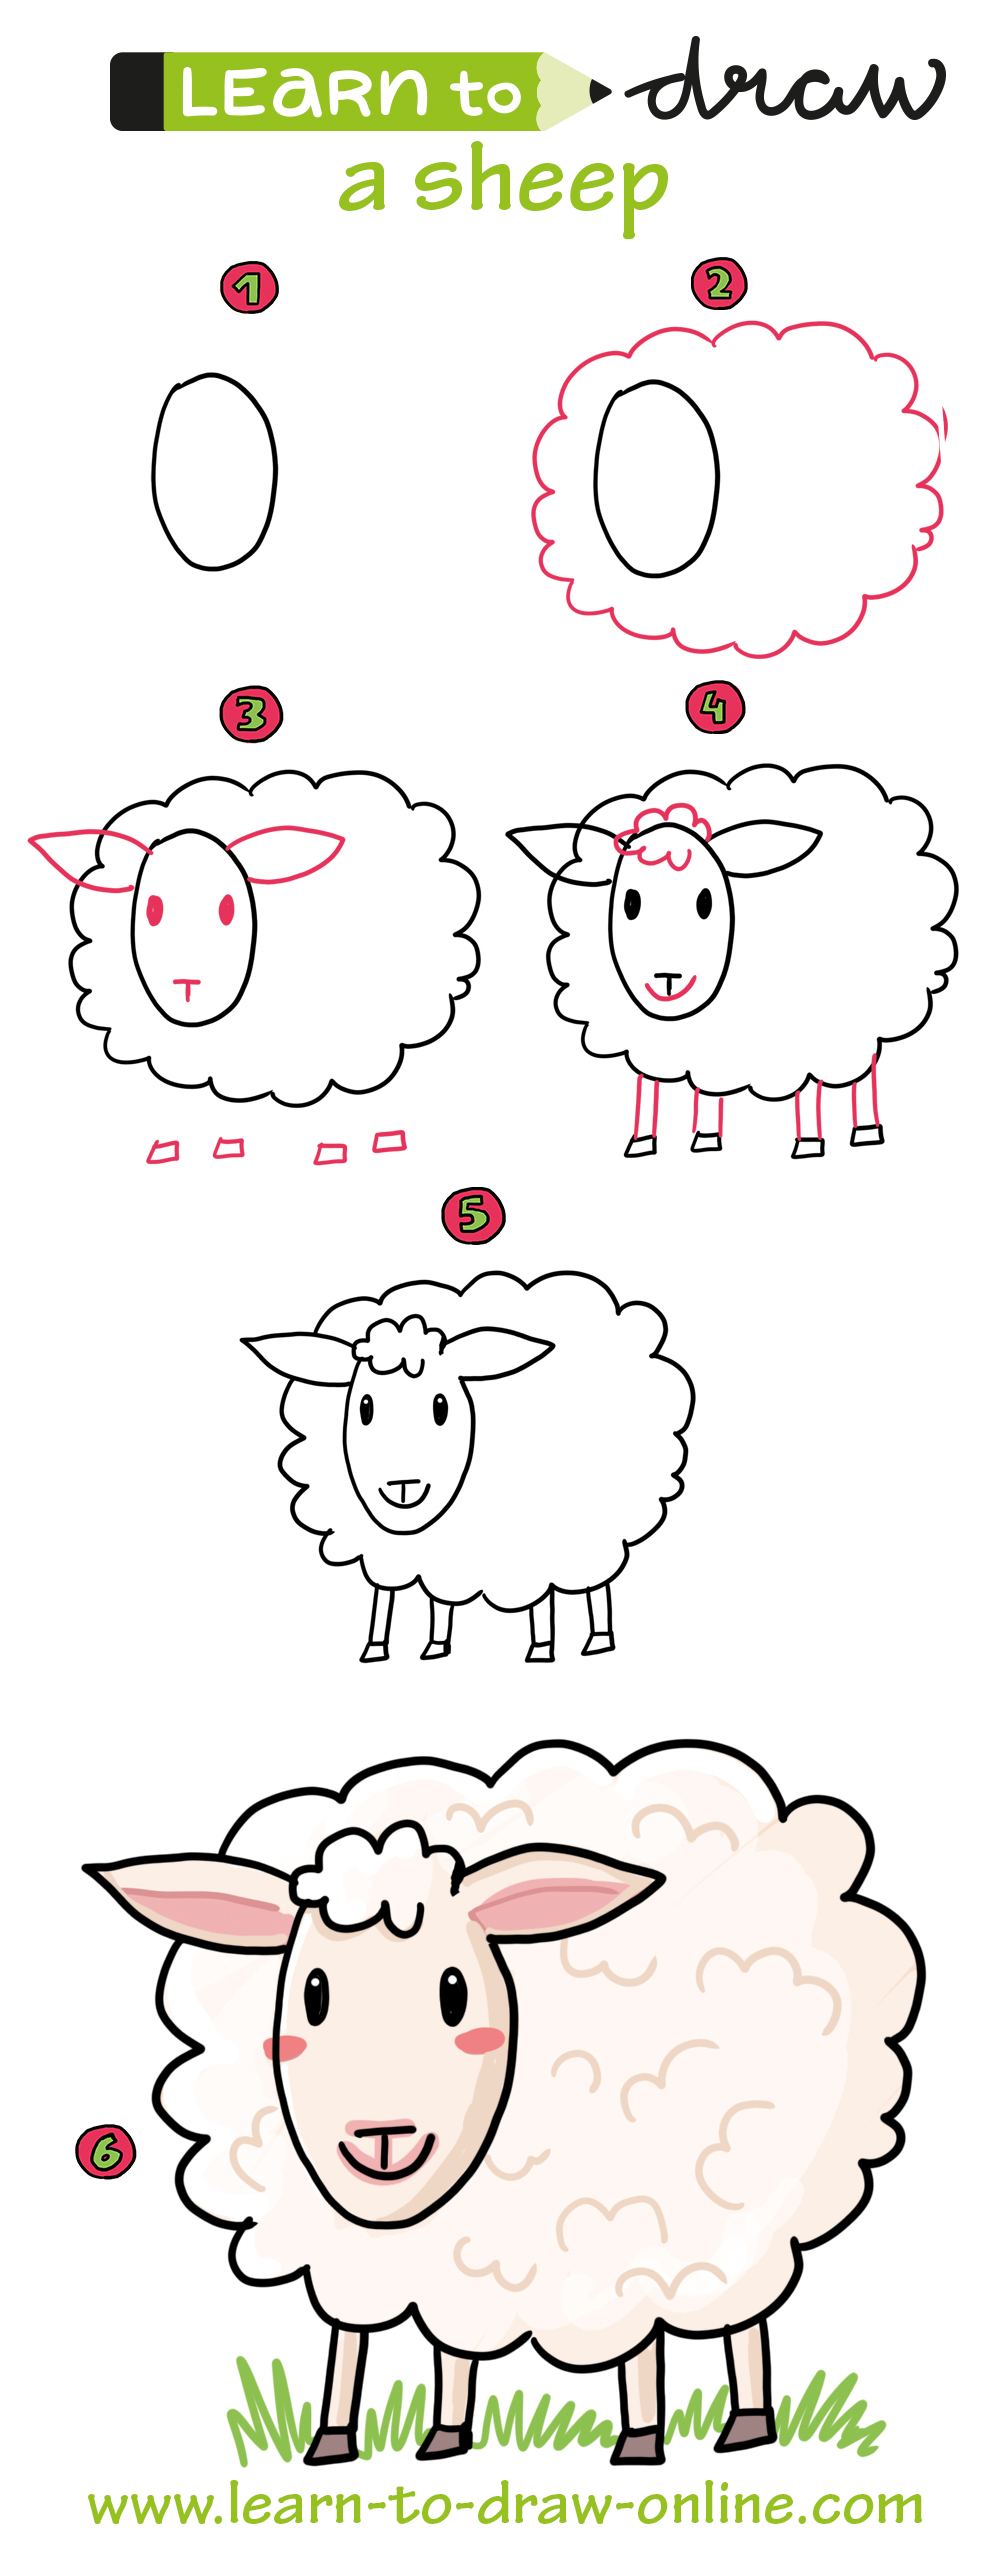
    Learn how to draw an easy sheep farm animal drawing instruction

    🌟 Make It Your Own!

    Now that you’ve drawn your sheep, why not add some color? Use soft pastels or bright crayons to bring your fluffy friend to life! You can even draw a whole field of sheep or create a fun story around your drawing.

    More Drawing Ideas for Kids

    • Draw a Sheep with a Hat: Give your sheep a stylish hat or bow to make it extra special!
    • Create a Sheep Family: Draw mom, dad, and baby sheep together.
    • Design a Sheep in a Landscape: Add a sunny meadow or a cozy barn in the background.

    Ready to Draw?

    Now that you’ve learned how to draw a sheep, share your artwork with friends and family! Who knows, you might just inspire someone else to start drawing too. Happy sketching! 🖍️✨

    Learn to draw a cute beach crab – easy drawing for beginners

    Learn to draw a cute beach crab – easy drawing for beginners

    Learn to Draw a Cute Beach Crab: A Fun and Easy Activity for Kids

    Drawing is more than just a creative outlet—it’s an excellent way for children to develop fine motor skills, boost their imagination, and build confidence. One of the most delightful and simple drawing activities for kids is creating a cute beach crab! In this tutorial, we’ll guide you through an easy, step-by-step process to help your little ones bring this adorable sea creature to life.


    Step-by-Step Tutorial: Drawing a Cute Beach Crab

    Step 1: We start very simply with an oval.

    Step 2: Add a hook on the bottom right and left. Then, draw two ovals for the eyes.

    Step 3: Add two more hooks and two U-shaped lines. Now, erase the lines inside the eyes.

    Step 4: With two Vs, turn the Us into proper crab claws. Add a few more details, and your crab already looks really cute.

    Step 5: Now you can neatly trace the animal with a black pen and erase the pencil lines.

    Step 6: A little bit of color, and your crab is done! Use a bright red for the body, brown for the legs, and leave the eyes white.


    Learn how to draw easy beach crab drawing instruction

    Your Crab is Complete! Keep Drawing and Having Fun

    Now you’ve created your very own artwork! How about drawing an entire underwater world from your imagination? Or a beach scene with shells and crabs?

    Drawing a beach crab is not only a fun way for kids to express themselves but also a valuable activity that nurtures creativity and learning. Plus, these little crabs make for adorable additions to any summer-themed art project! Encourage your child to try different colors and experiment with their crab’s expressions—they’ll love seeing their imagination come to life!

    Learn to draw a lucky clover – quick and easy

    Learn to draw a lucky clover – quick and easy

    lucky clover drawing

    How to Draw a Lucky Clover!

    Do you want to draw a lucky four-leaf clover? A four-leaf clover is a special plant that brings good luck! Most clovers have three leaves, but sometimes, you can find a rare one with four! Follow these easy steps to draw your own lucky clover.

    What You Need:

    • A piece of paper
    • A pencil
    • A black fineliner
    • Green colored pencils
    • An eraser 

    Step 1: Draw the Center
    Start by drawing a cross. This will be the center of your clover. Make it nice and straight.

    Step 2: Add Diagonal Lines
    Now, draw two diagonal lines through the center of the cross. These lines should be much longer than the cross lines.

    Step 3: Draw the Leaves
    Add nice rounded curves to complete the shape of the leaves. Add an elipse for the cute little ladybug.

    Step 4: Add a Stem and add Detail to the Ladybug

    The stem should be a little bit curved. Add sensors a back head and dots to the ladybug.

    Step 5: Outline, Erase and Color
    Go over your drawing with a darker pencil or marker. If you have extra lines, use your eraser to clean them up. Now, grab your green crayon or marker and color in your clover! You can even add shading to make it look more real.

    Bonus Tip:
    If you want to make your clover even fancier, you can add little sparkles around it to show how lucky it is!


    Learn how to draw a hummingbird drawing instruction

    Have fun!

    And there you have it! You just drew your very own lucky four-leaf clover. Keep practicing, and maybe you’ll find a real one someday!

    Learn how to draw an easy butterfly

    Learn how to draw an easy butterfly

    Spring is approaching

    The first flowers are slowly emerging from the ground. Spring is slowly but surely coming! That’s why, out of pure anticipation, today we want to draw a butterfly with you. Usually, our drawing tutorials are rather realistic. Occasionally, however, we also create tutorials that are a bit cuter and simpler. Like this cute butterfly. We wish you lots of fun!

    And since we are talking about spring: why not drawing some tulips as well? 

    Drawing a simple butterfly

    Before you start, take a close look at our drawing instructions. Make sure the butterfly has enough space on your paper and that its wings fit on it. Then, you start with the first step. Actually, the body of the delicate creature is somewhat like an elongated drop. At the top, it’s round so we have space for the face. Everything highlighted in red is added in the respective step. In the second picture, the butterfly gets two dots as eyes and the upper wings. It looks best if the wings are approximately the same size and symmetrical. Feel free to try it several times with a soft pencil before moving on.

    By now adding the lower wings about the same size, your insect is almost finished. Under the eyes, you also draw a cheerful smiling mouth. Two antennae go on the head. If you like, you can already consider your butterfly drawing finished here. In the fourth step, we curled the antennae a bit and drew some patterns on the wings. But here, you can also let your imagination run wild!

    Butterflies in cheerful spring colors

    So, your drawing is now complete. It’s best to go over the lines with a black fineliner to make them bold and long-lasting. When it comes to colors and patterns, you can now let your creativity run wild! Of course, not all color combinations exist in the butterfly world, but there are quite a lot. Besides, this is your very own butterfly, who is happy to shine in your favorite colors.

    Learn how to draw easy butterfly insect drawing instruction
    Learn how to draw an easy unicorn

    Learn how to draw an easy unicorn

    Enchanting and totally on trend

    Whether as a cuddly toy, keychain, or phone case – they always look great. Unicorns come in all sorts of colors and styles. But the main thing is that they’re cheerful, enchanting, and colorful! These fantastic creatures are therefore rightly popular for good reason. If you want to start your own creative unicorn project, we’ve gathered some inspiration for you on Pinterest. There, you’ll find many ideas for crafting, drawing, and coloring. But of course, here you’ll also find another drawing guide from “Learn to Draw”. Let’s get started!

    Step by step to the unicorn

    This cute unicorn is not difficult to draw at all. You start with two oval circles. One is for the head, the other will be the body. Then add the horn, as well as two circles that will become the feet. Next, draw an ear, two legs, and an “S” for the tail. In step 4, add a wild mane, where you can let your creativity run wild. With the eye, nose, and hind legs, it already looks like a unicorn. Complete your drawing in the next steps and finally outline everything neatly with a black fineliner. Your unicorn drawing is now ready to be colored and embellished.

    Now it gets colorful

    Since the unicorn is a fantasy creature, there are no right or wrong colors. Many like pink, purple, white, and rainbow colors, but really, anything goes. It definitely looks very pretty to emphasize the mane and tail with individual strokes. They will then look even more like hair. Also, take a look here, where we’ve shown how to color a picture with markers. It also looks cute if you paint the unicorn’s cheeks pink and highlight the nose with a slightly lighter or darker color. We colored it light purple.

    Learn how to draw an easy unicorn fairytale drawing instruction