Learn how to draw a seahorse
How to Draw a Seahorse – Easy Step-by-Step Guide
Have you ever wanted to draw one of the ocean’s most fascinating creatures? In this fun and easy tutorial, you’ll learn how to draw a seahorse step by step. With just a pencil, paper, and a bit of patience, you’ll soon have your own graceful seahorse ready to color. Let’s dive in!
Introduction: Meet the Seahorse
Seahorses are among the most unique creatures in the sea — with their curled tails, long snouts, and tiny fins. They might look delicate, but they are excellent swimmers and even stronger than they seem. Drawing a seahorse is a great way to explore ocean life while practicing smooth curves and fine details.
What you’ll need:
✏️ Pencil and eraser
🖊️ Black pen or marker (for outlining)
🎨 Colored pencils or markers (yellow, orange, blue tones work beautifully)
Step-by-Step: How to Draw a Seahorse
Step 1: Draw the Body Outline
Start with a long curved line shaped a bit like an “S.” This will be the main structure of your seahorse’s body and tail.
Step 2: Add the Head and Snout
At the top of your curve, draw a rounded head and a long rectangular snout. Seahorses have a distinctive horse-like face — that’s where their name comes from!
Step 3: Create the Tail Spiral
Now add a spiral at the bottom to form the coiled tail. This helps your seahorse look realistic and balanced.
Step 4: Add Details to the Head and Fins
Draw a small round eye near the top of the head and a little fin on the back of the body. These fins help the seahorse swim gently through the water.
Step 5: Draw the Bumpy Outline
Seahorses have a textured body with tiny spikes and ridges. Lightly sketch those along the back and belly for a more natural look.
Step 6: Outline and Refine
Go over your pencil lines with a darker pen or fine marker. Erase any extra lines and tidy up your drawing before coloring.
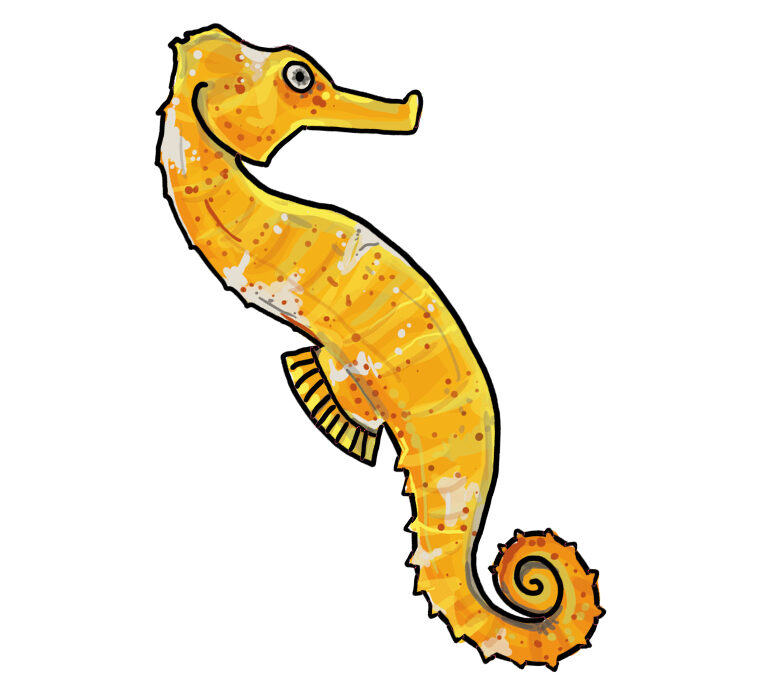
Step 7: Add Color and Shading
Color your seahorse in warm yellows, oranges, or gold tones — or make it magical with blues and purples! Use darker shades along the edges to give it a 3D effect and a little sparkle of white for underwater highlights.

Creative Ideas for Your Seahorse Drawing
-
Draw a coral reef background with seaweed, shells, and tiny bubbles.
-
Create a seahorse family — small ones for babies and larger ones for adults.
-
Try using watercolors or digital brushes for a soft, flowing underwater effect.
-
Combine your seahorse with other sea creatures like starfish, turtles, or jellyfish.