
Learn how to draw easy halloween pumpkins
How to Draw a Halloween Pumpkin – Step-by-Step Tutorial
Nothing says Halloween like a glowing jack-o’-lantern! In this easy drawing tutorial, you’ll learn how to draw a Halloween pumpkin step by step. Whether you’re a beginner or looking for a fun fall activity, this guide will help you create your own spooky pumpkin illustration — perfect for cards, decorations, or digital art projects.
Step 1: Draw the Pumpkin’s Basic Shape
Start with a tall oval in the center of your page. This will form the middle section of your pumpkin.
Step 2: Add the Side Sections
Draw two rounded shapes on each side of the oval. These overlapping curves make your pumpkin look nice and plump.
Step 3: Sketch the Stem
Add a curved, slightly uneven stem at the top. Don’t worry about making it perfect — real pumpkin stems are never completely straight!
Step 4: Complete the Pumpkin Segments
Draw a few smaller humps behind your main sections to give the pumpkin more depth and dimension.
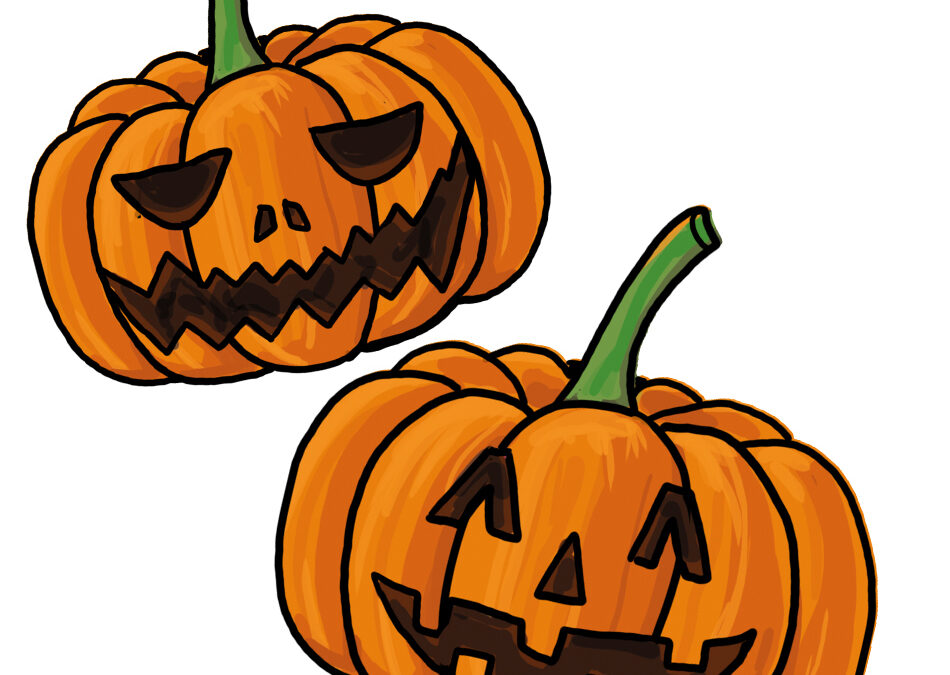
Step 5: Create the Jack-o’-Lantern Face
Now comes the fun part — give your pumpkin a personality!
You can draw:
-
Classic triangles for eyes and nose, and a wide jagged grin
-
Or try zigzag lines for a spookier, monster-style expression
Step 6: Add Color and Shading
Color your pumpkin with warm oranges and browns. Shade the inner lines for a round look, and use darker tones around the eyes and mouth for that glowing, candlelit effect.

Creative Ideas
🎨 Try drawing different expressions — happy, scary, sleepy, or surprised pumpkins.
🕯️ Add a candle inside for a glowing effect.
🍂 Decorate the background with leaves, bats, or a full moon.
✏️ Combine your pumpkins to make a fun Halloween scene!